0x01 前言
OpenRASP 是百度安全推出的一款 免费、开源 的应用运行时自我保护产品
OpenRASP项目地址 https://rasp.baidu.com/
OpenRASP 官方文档 https://rasp.baidu.com/doc/
0x02 系统和软件版本需求
支持的操作系统和软件版本详见官方文档: 兼容性说明
以下是我所使用的环境:
| 系统/软件 | 版本 |
|---|---|
| Centos | 7.8.2003 |
| Mongodb | 3.6 |
| ElasticSearch | 6.8.11 |
| JDK | 1.8 |
0x03 安装Java
ElasticSearch需要Java1.8.0,可执行命令java -version查看当前系统所安装Java版本是否为1.8.0,版本不对或者没安装可使用以下命令安装。
yum -y install java
或者
yum install java-1.8.0-openjdk* -y
0x04 MongoDB 3.6
创建源文件
vim /etc/yum.repos.d/mongodb-org-3.6.repo添加源内容
[mongodb-org-3.6]
name=MongoDB Repository
baseurl=https://mirrors.aliyun.com/mongodb/yum/redhat/$releasever/mongodb-org/3.6/x86_64/
gpgcheck=1
enabled=1
gpgkey=https://www.mongodb.org/static/pgp/server-3.6.asc
使用yum安装
yum install -y mongodb-orgMongoDB 配置
如果需要设置密码等验证,请自行度娘、google,如不设置密码等验证,请勿对外开放端口,以防被入侵!
创建数据存放目录
mkdir -p /data/mongo/data /data/mongo/logs目录设置权限
chown mongod.mongod /data/mongo/data /data/mongo/logs -R配置文件
vim /etc/mongod.conf# mongod.conf
# for documentation of all options, see:
# http://docs.mongodb.org/manual/reference/configuration-options/
# where to write logging data.
systemLog:
destination: file
logAppend: true
path: /data/mongo/logs/mongod.log #修改成上面创建的路径
# Where and how to store data.
storage:
dbPath: /data/mongo/data #修改成上面创建的路径
journal:
enabled: true
# engine:
# mmapv1:
# wiredTiger:
# how the process runs
processManagement:
fork: true # fork and run in background
pidFilePath: /data/mongo/logs/mongod.pid #修改成上面创建的路径 # location of pidfile
timeZoneInfo: /usr/share/zoneinfo
# network interfaces
net:
port: 27017
bindIp: 127.0.0.1 # Listen to local interface only, comment to listen on all interfaces.
#security:
#operationProfiling:
#replication:
#sharding:
## Enterprise-Only Options
#auditLog:
#snmp:启动 MongoDB
mongod -f /etc/mongod.conf0x05 ElasticSearch
下载ElasticSearch
cd /data && wget http://t.shy.cx/Tools/ElasticSearch/elasticsearch-6.8.11.tar.gz解压
tar -zxvf elasticsearch-6.8.11.tar.gz创建用户
useradd es #因为elasticsearch不能以root账户启动,所以需新建一个用户启动。目录设置权限
chown -R es:es elasticsearch-6.8.11启动ElasticSearch
如果需要设置密码等验证,请自行度娘、google,如不设置密码等验证,请勿对外开放端口,以防被入侵!
ElasticSearch不需要其他配置,切换用户启动即可!
su es #切换到创建的用户cd elasticsearch-6.8.11 #进入所在目录bin/elasticsearch -d # 参数 -d 后台运行curl http://127.0.0.1:9200 #验证服务是否成功启动如返回以下类似内容则说明服务开启成功。
[root@localhost data]# curl http://127.0.0.1:9200
{
  "name" : "uhgomAc",
  "cluster_name" : "elasticsearch",
  "cluster_uuid" : "cW8opofPTE2xxxxxxxx",
  "version" : {
    "number" : "6.8.11",
    "build_flavor" : "default",
    "build_type" : "tar",
    "build_hash" : "00bf386",
    "build_date" : "2020-07-09T19:08:08.940669Z",
    "build_snapshot" : false,
    "lucene_version" : "7.7.3",
    "minimum_wire_compatibility_version" : "5.6.0",
    "minimum_index_compatibility_version" : "5.0.0"
  },
  "tagline" : "You Know, for Search"
}
0x06 部署rasp cloud
下载管理后台Linux版最新安装包:**
wget https://packages.baidu.com/app/openrasp/release/latest/rasp-cloud.tar.gz 解压
tar -zxvf rasp-cloud.tar.gz修改配置文件
vim rasp-cloud/conf/app.conf首先,编辑 conf/app.conf 文件,修正 ElasticSearch 和 MongoDB 两个数据库的地址。如果这两个数据库都安装在了本机,且使用默认端口,请跳过此步骤:
httpport = 8086 #管理端口
[prod]
EsAddr = http://127.0.0.1:9200
EsUser =
EsPwd =
MongoDBAddr = 127.0.0.1:27017
MongoDBUser =
MongoDBPwd =
0x07 启动管理后台
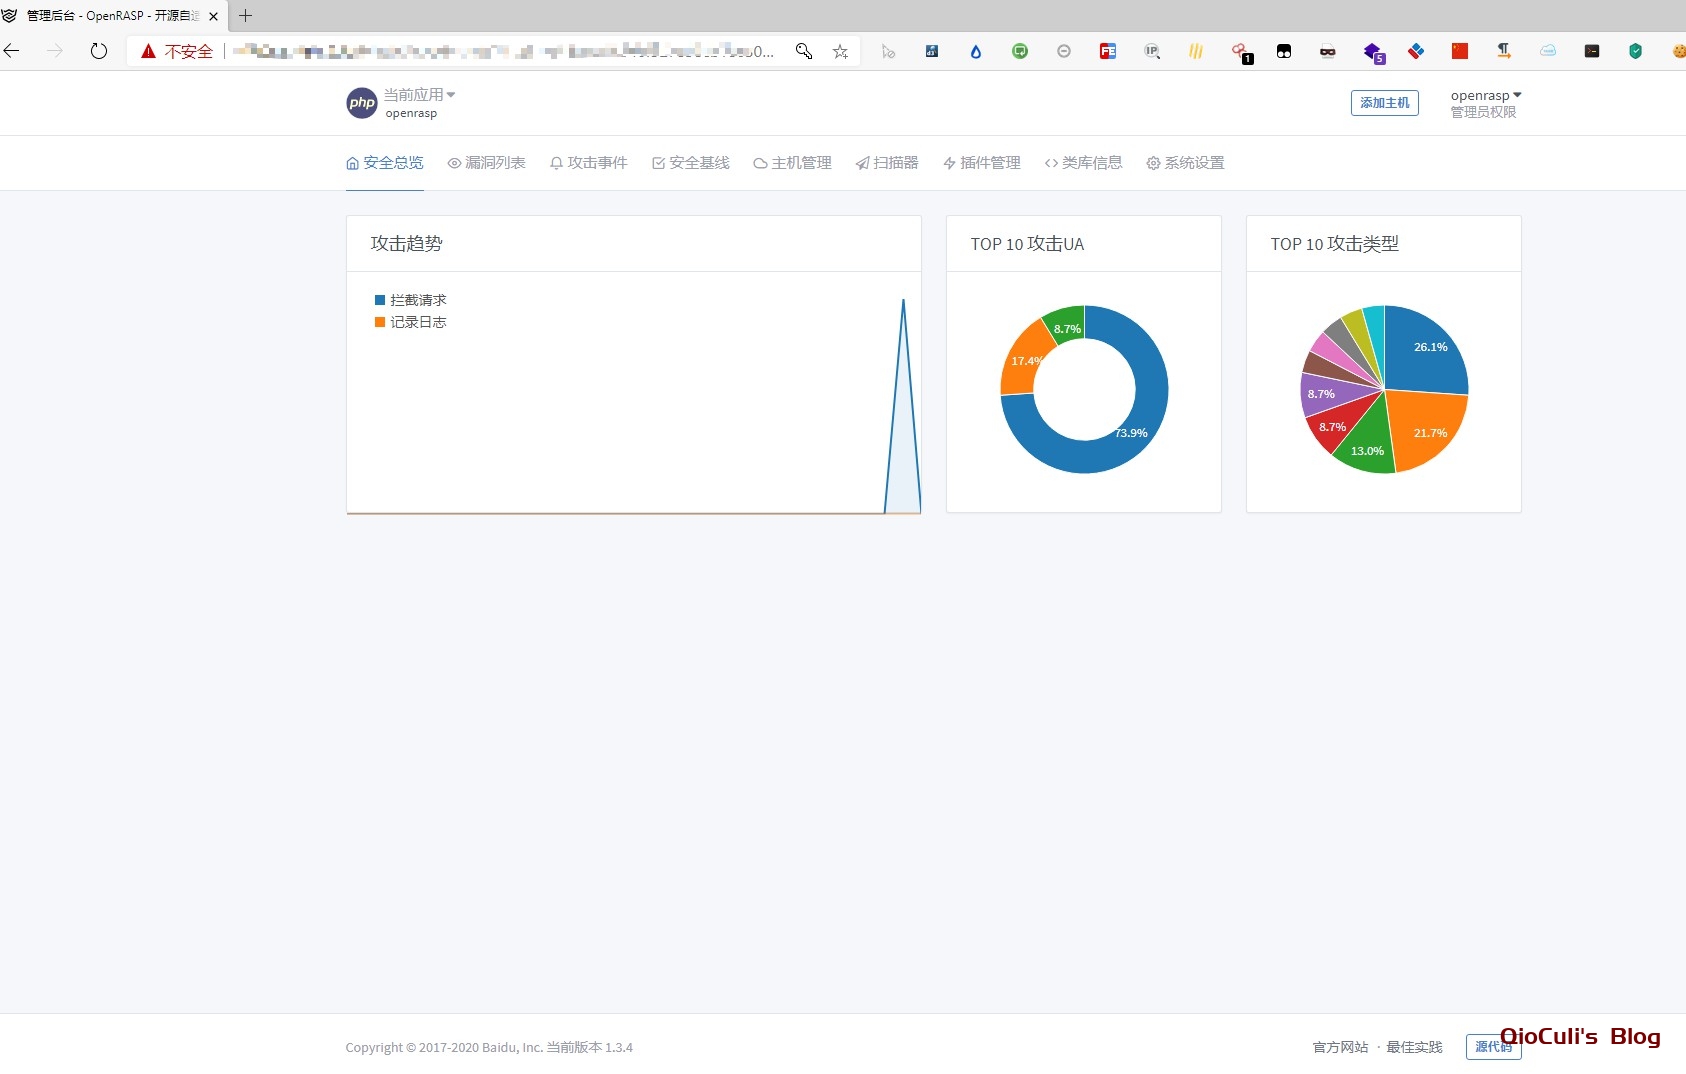
./rasp-cloud -dcurl http://127.0.0.1:8086返回如下图就部署成功了,最后,在浏览器里打开 http://ip:8086,登录管理后台。其中用户名固定为 openrasp,初始密码为 admin@123。如果不能访问,请检查防火墙是否有放行对应端口,或者检查 logs/api/agent-cloud.log 下面的错误信息。
本文作者为QioCuIi,转载请注明。


